Elin seems to have a much friendlier tutorial compared to Elona. It's crucial to complete the tutorial since it teaches essential controls and provides various items. Neglecting the tutorial might inadvertently Since you may end up proceeding through the game without access to important elements, we have prepared an article on how to proceed through the game using the tutorial.
Elin, like Elona, has a high degree of freedom, which means there's a lot to learn before one can comfortably progress. However, it's a very engaging game, and I hope this article helps you overcome the initial hurdles.
- 1. Starting the Game Once you can control your character
- 2. Acquiring a Pet
- 3. Essential Equipment
- 4. Frontier Inspecter
- 5. First Shipping Box
- 6. The Way of Crafter
- 7. Buying “home board” and “resident board” from Fiama
- 8. Defence Training
- 9. Tax Liability
- 10. To the New Lands
- 11. Fiama's Feeling
- 12. Fiama's Lecture
- 13. Lost Puppy
- 14. Pioneer Spirit
- 15. Vision for the Future
- 16. Tutorial Complete
1. Starting the Game Once you can control your character
talk to Shadow Of Mysilia『Ashland』.


After the conversation, a "Land Deed" will appear at your feet. Pick it up and read it.


Once you've acquired the land, talk to "Ashland" again.

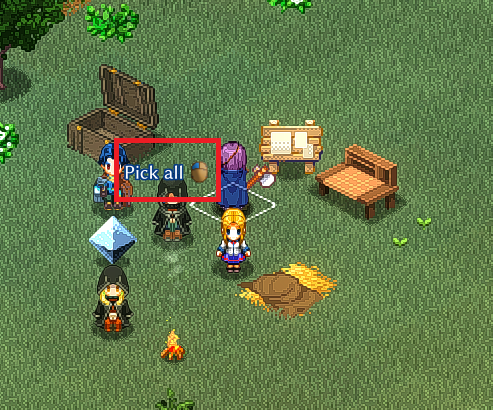
You will receive items, so click with the left mouse button and select "Pick all" to collect them.


The axe will become a frequently used item, so it's a good idea to move it to the shortcut area.

About shortcuts
This is where you set items you use frequently, like tools (axes, pickaxes) and weapons (staves, pebbles, guns), as well as abilities and spells.

The far left display should be considered as "what you are currently holding." For instance, if you want to chop wood with an axe, the far left display must show "axe."
Leftmost is “bare hand”.
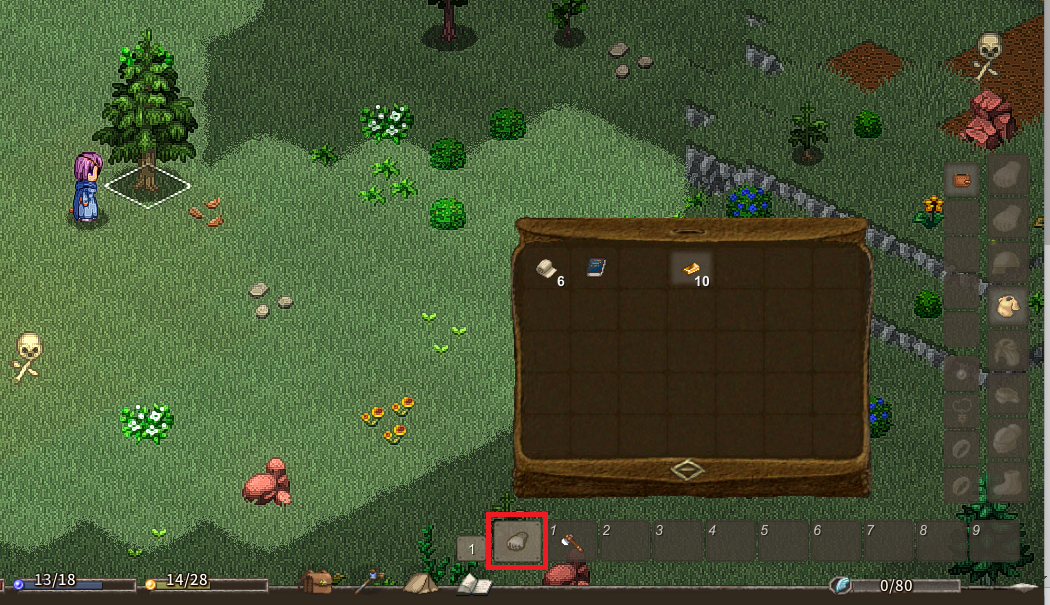
Leftmost is “axe”.
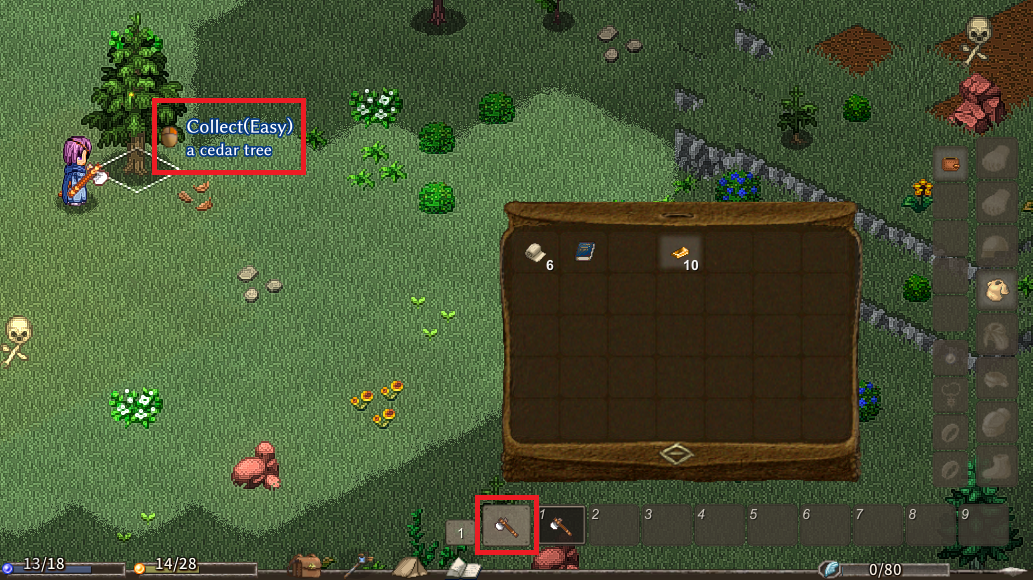
The items set in shortcuts can be switched by "target clicking," "mouse wheel," or "numbers (keyboard)." Personally, switching with the mouse wheel feels more intuitive.
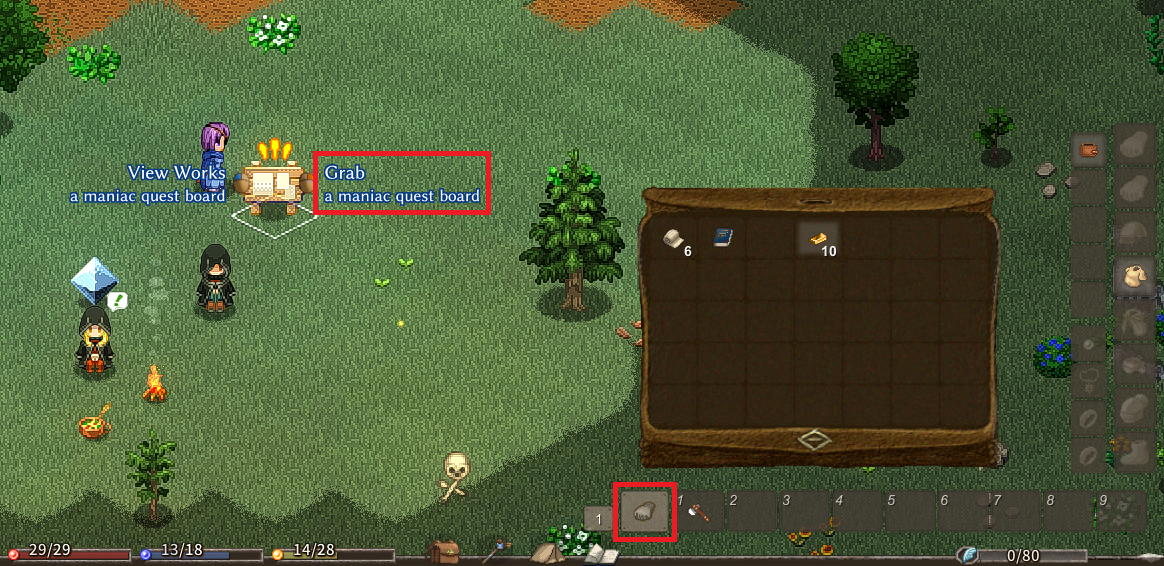
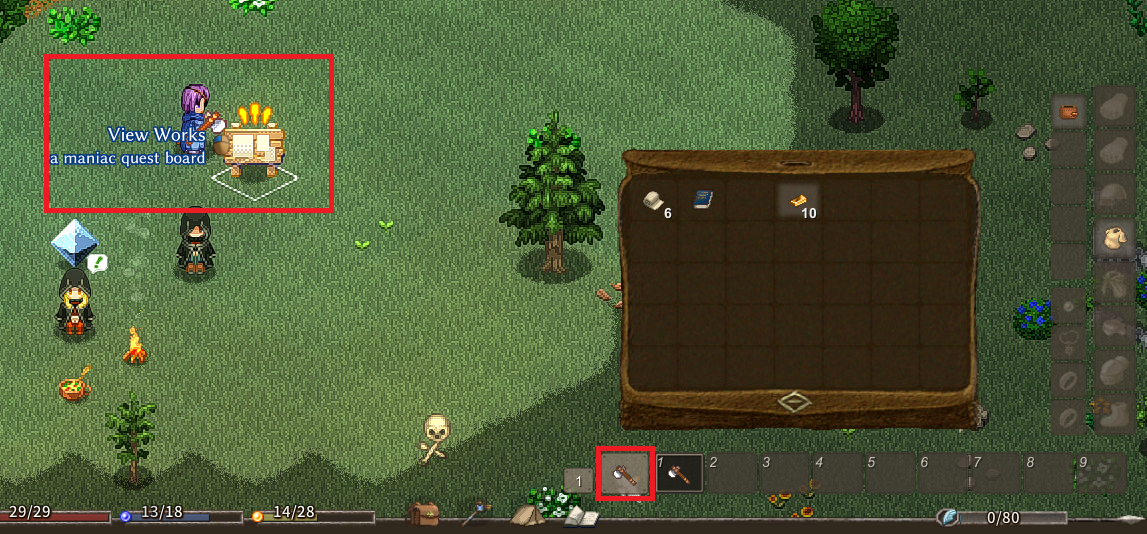
Remember that some actions can only be performed when "bare hand". You can switch to "bare hand" by clicking the leftmost column or focusing on it with the mouse wheel.
Leftmost is “bare hand”.
Leftmost is “axe”.
2. Acquiring a Pet
Talk to Shadow Of Mysilia 『Fiama』.
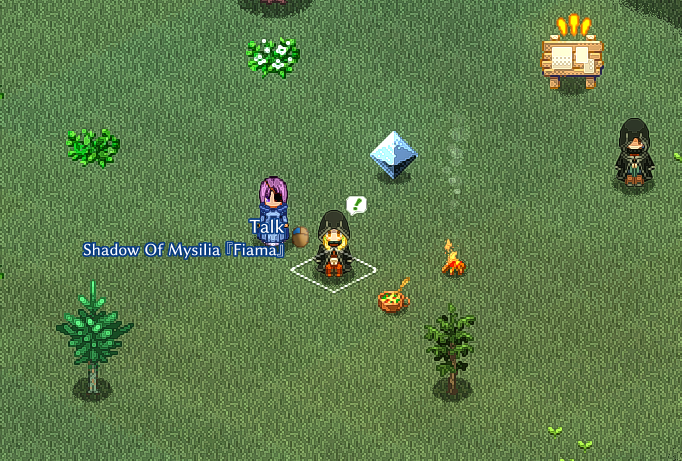
You can choose a species to get as a pet (companion). If unsure, the "little girl" species is reliable in combat.

If your pet dies in battle, you can revive it without cost by talking to Fiama.
It is very useful to know how to change the equipment of ally.
ksk428.hatenadiary.com
3. Essential Equipment
Look at the request board; you'll find tasks from Ashland .
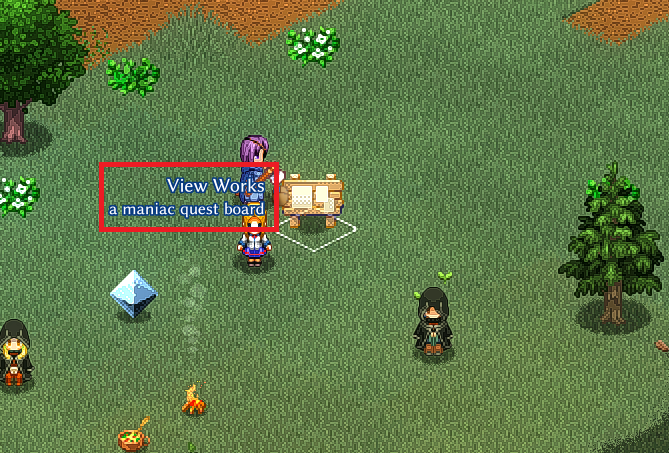
First, tackle the task named "Essential Equipment".
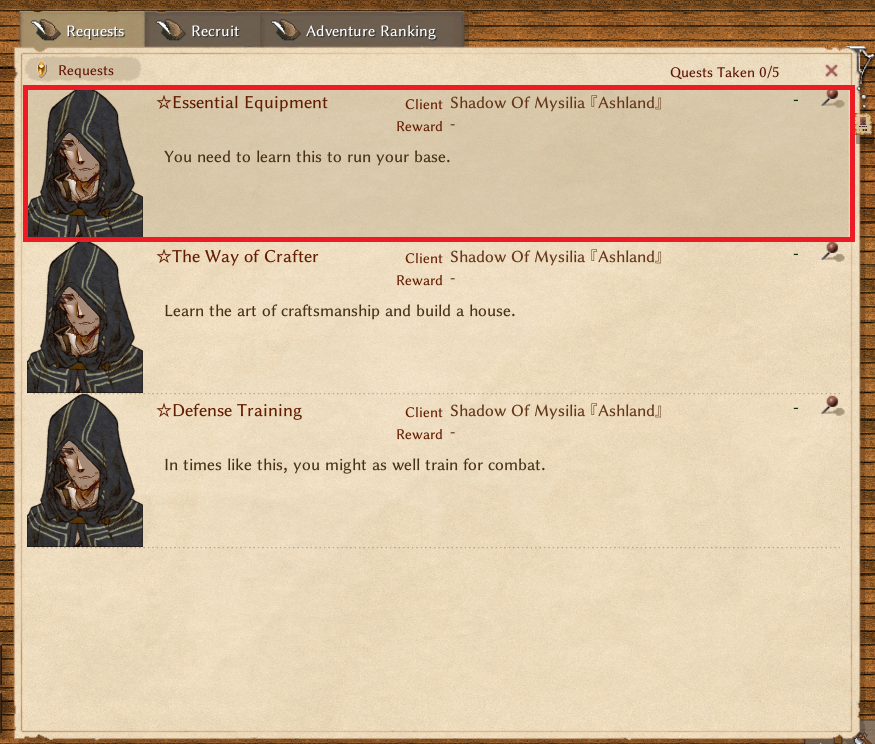
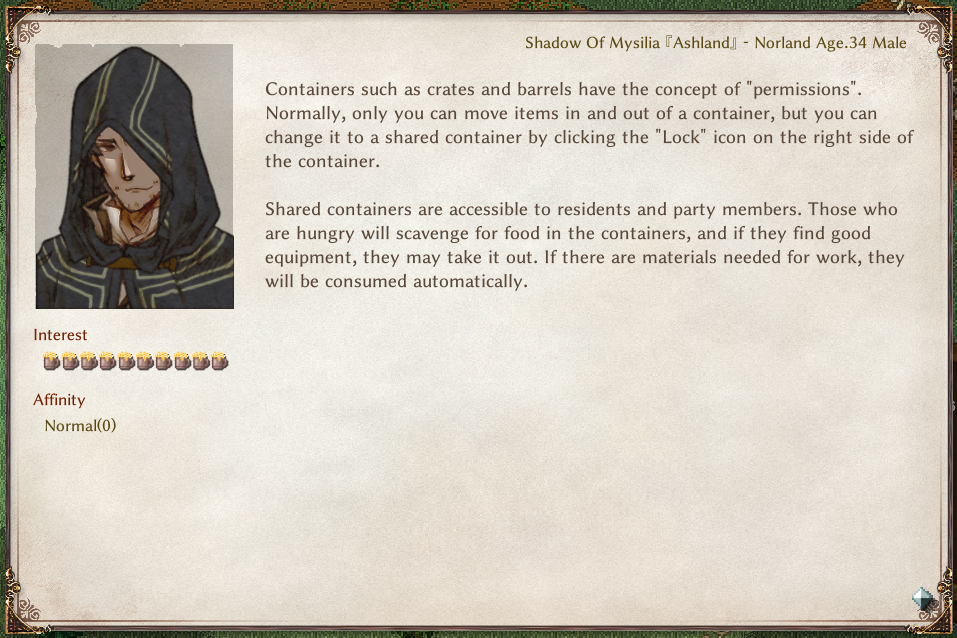
Understand the concept of a "shared container".

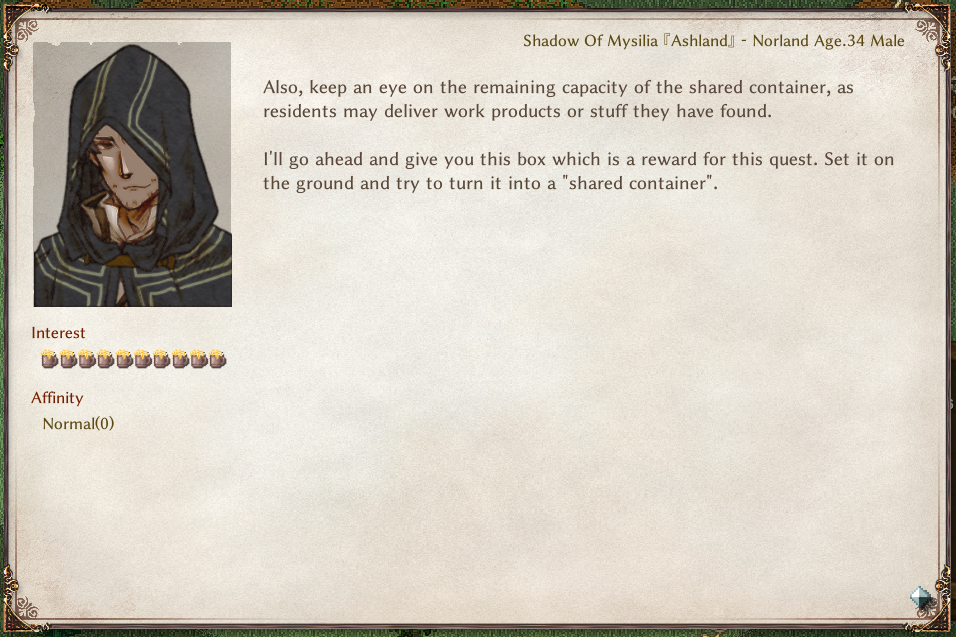
When you pick up the "Sturdy Box" that appears at your feet, remember the concept of "place". If you want to place it, you must "Grab" it first.
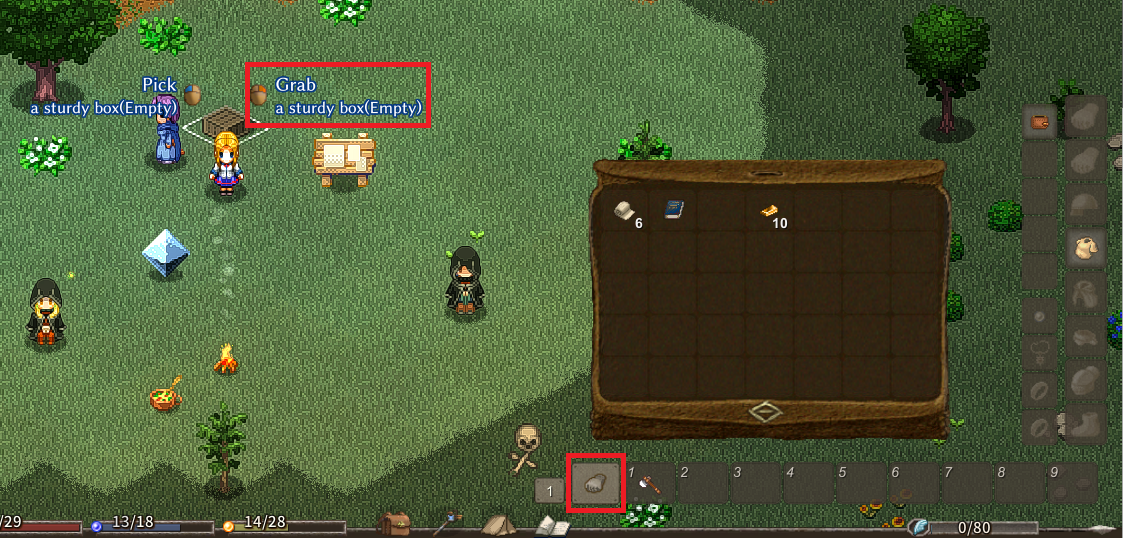
Normally, "Grab" can be done with a right-click, but if right-click is assigned to another action, you'll need a middle click.
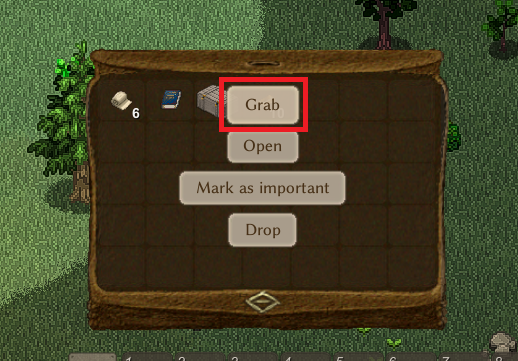
The grab mark on the item is the state in which you are holding it. It is important because there are operations that can be performed by putting the item in this state. In this case, you can place the item by holding it. Let's place it in an appropriate place.
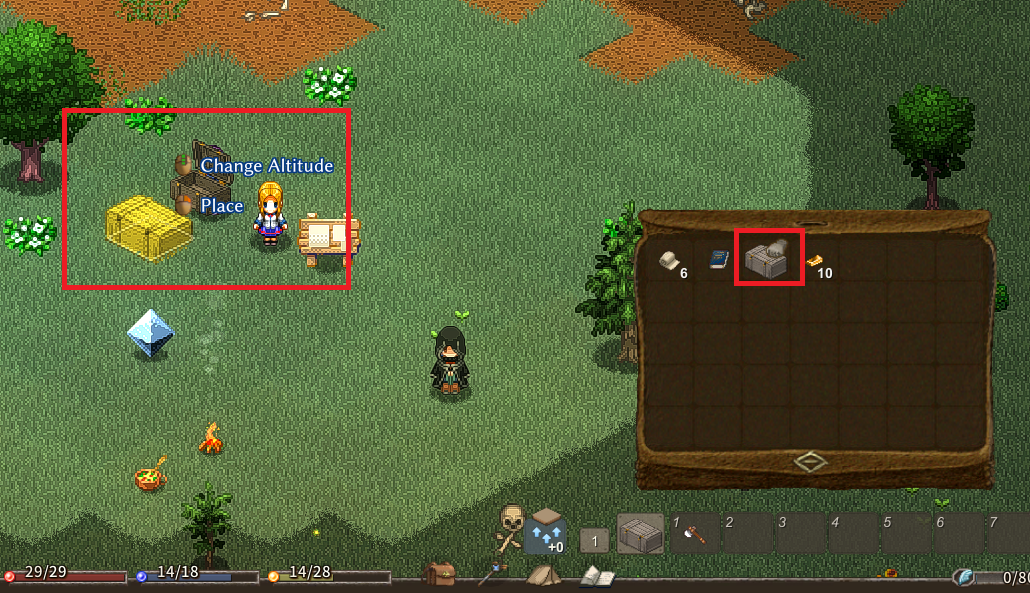
Once the box is place, open the box and click on the permission icon to toggle between private and shared. After changing the setting to “shared”, talk to Ashland.
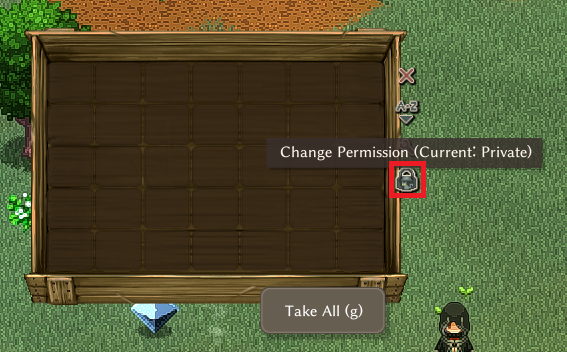

The request is completed when reported to the client.

4. Frontier Inspecter
After completing " Essential Equipment", new tasks will appear, including the crucial "Frontier Inspecter".

You can choose "I want to live as I please", but the task for the "Frontier Inspecter" will remain on the board, so don't worry.
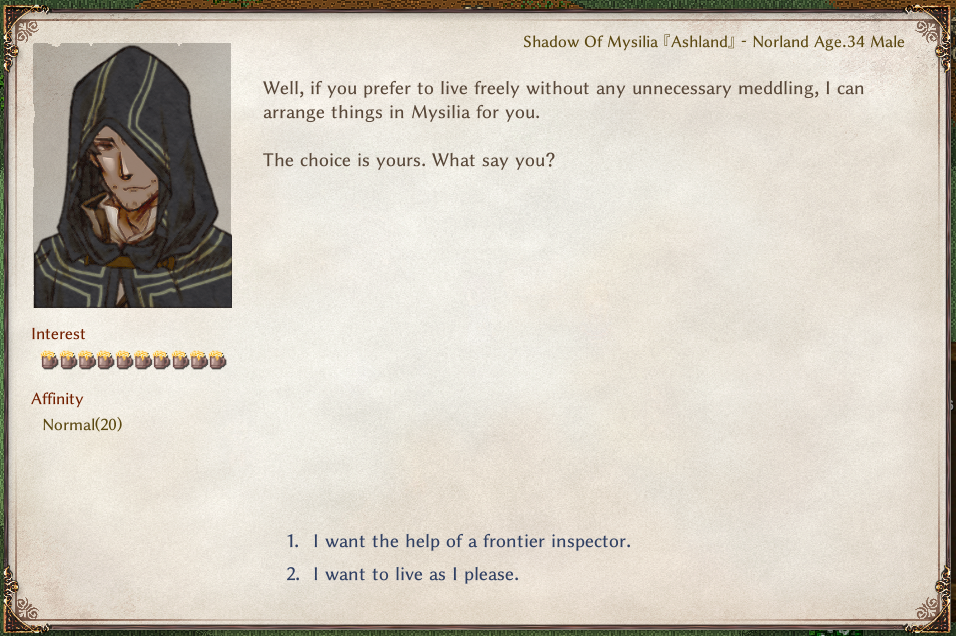
Once the conversation with Loytel is over, the task is complete.

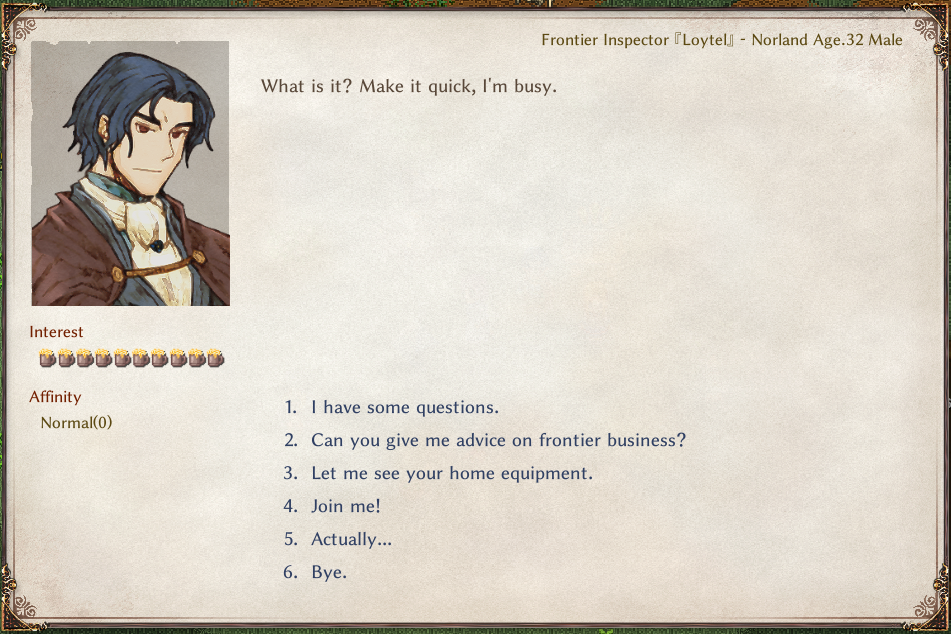
Loytel will sell you supplies and can also join you as a companion. If Loytel dies, you can revive him by talking to Fiama.
5. First Shipping Box
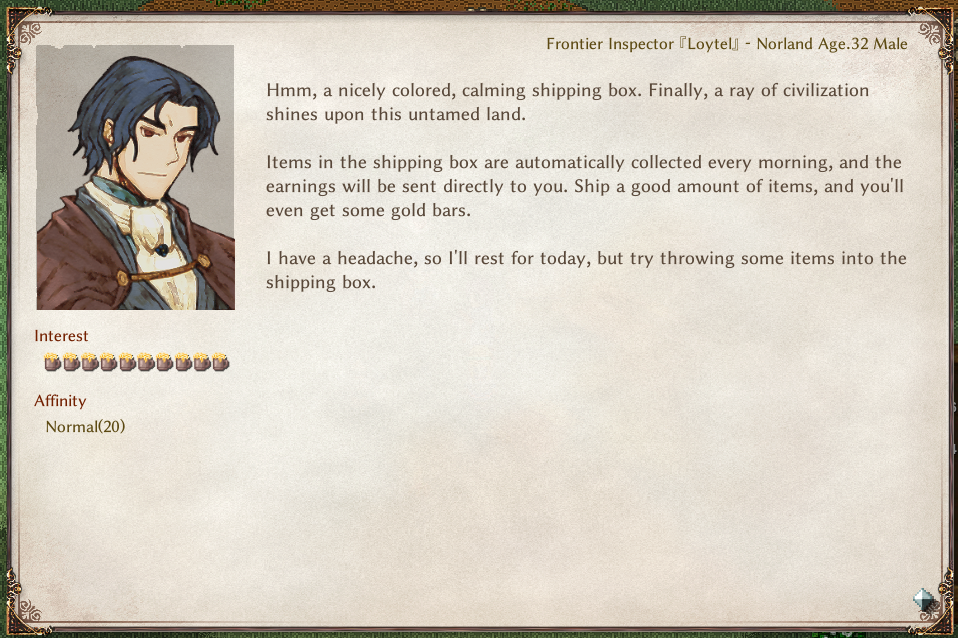
After clearing "Frontier Inspecter", the task "First Shipping Box" will appear, which allows you to obtain a "shipping box" critical for earning money and gold nuggets.

Before accepting the task, create and place a workbench by first gathering logs with an axe and crafting the Workbench.
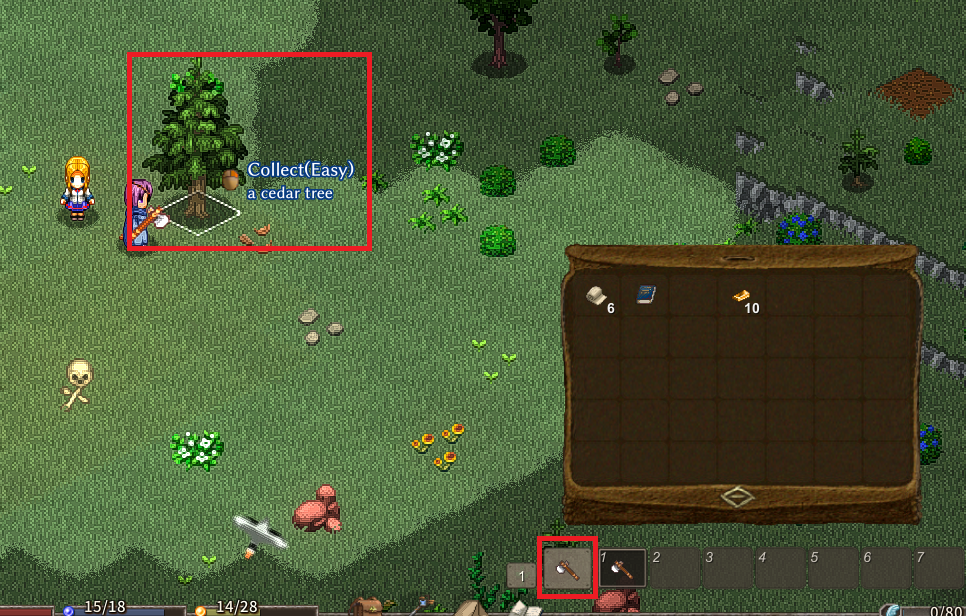
Once the logs are available, we will create a Workbench from "Quick Craft".

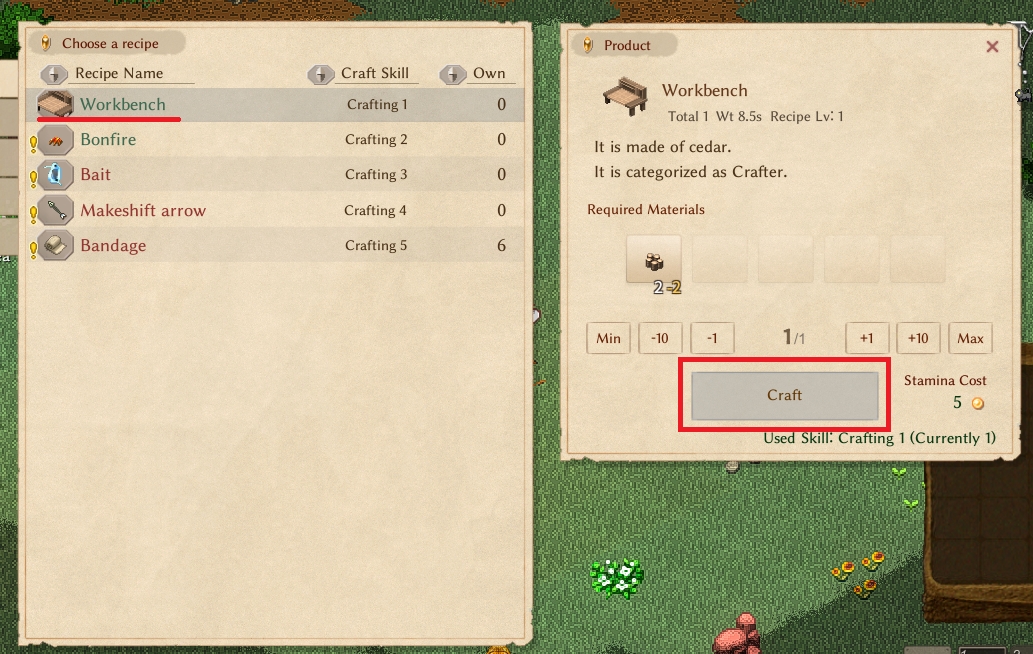
When the Workbench is completed, right-click to grab it and place it. Note that facility cannot be used unless it is “place".
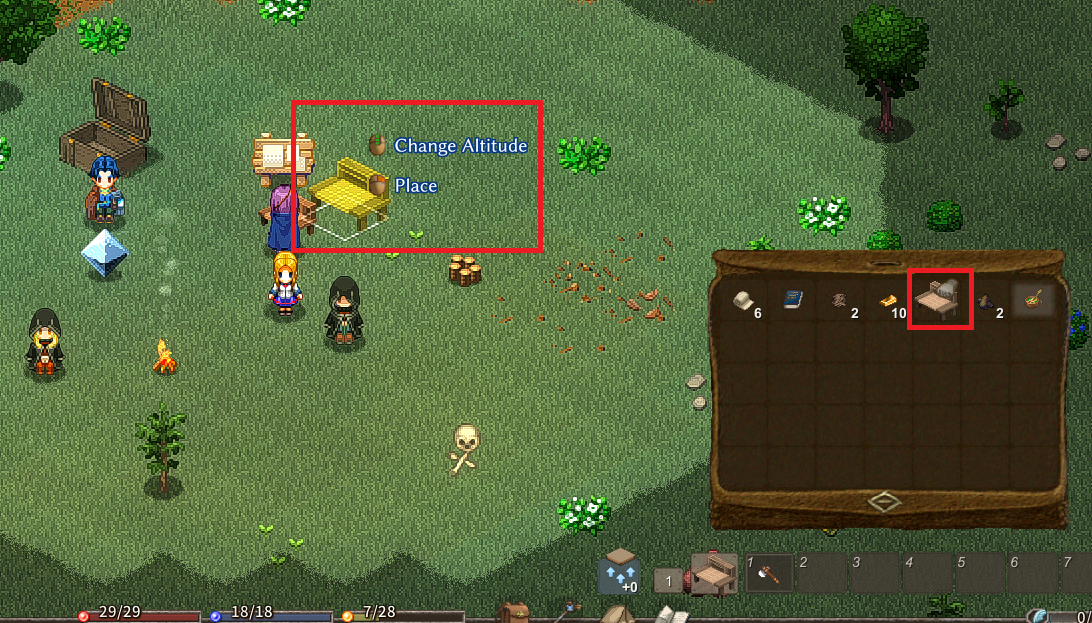
While setting up the workbench, let's make a “Makeshift bed”. The amount of stamina recovery will vary greatly between sleeping on a bed and not sleeping on a bed.
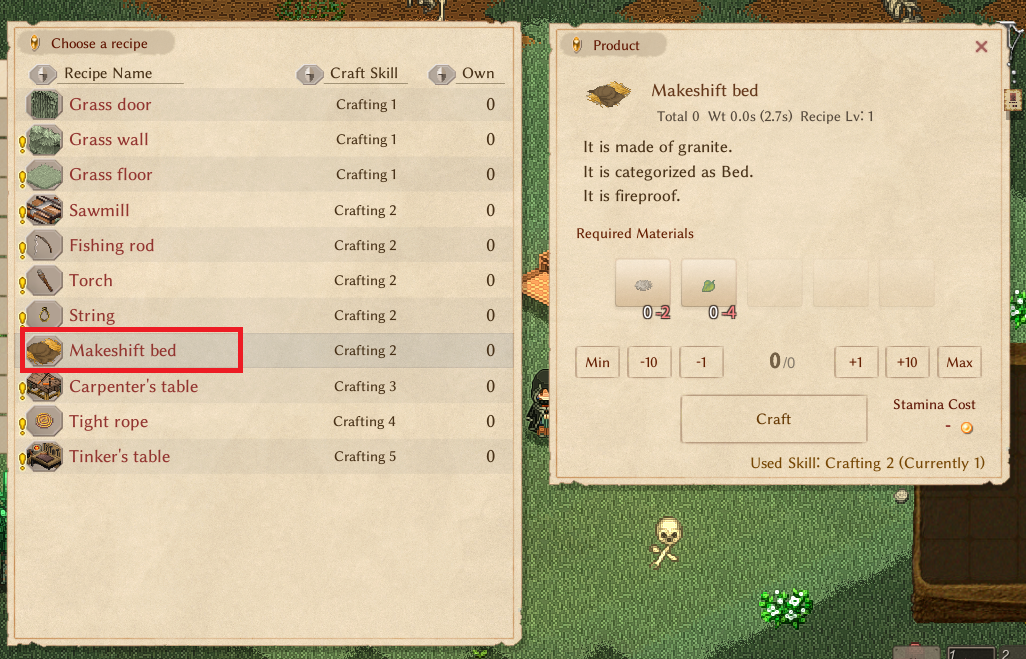
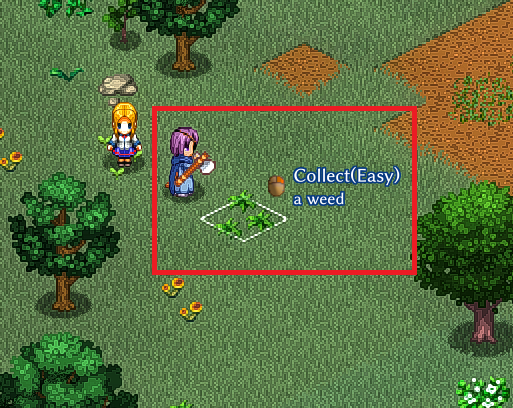
Let's get “grass” and “leaf” necessary for making “Makeshift bed” by cutting weeds.
The beds are also basically “Place” for use.
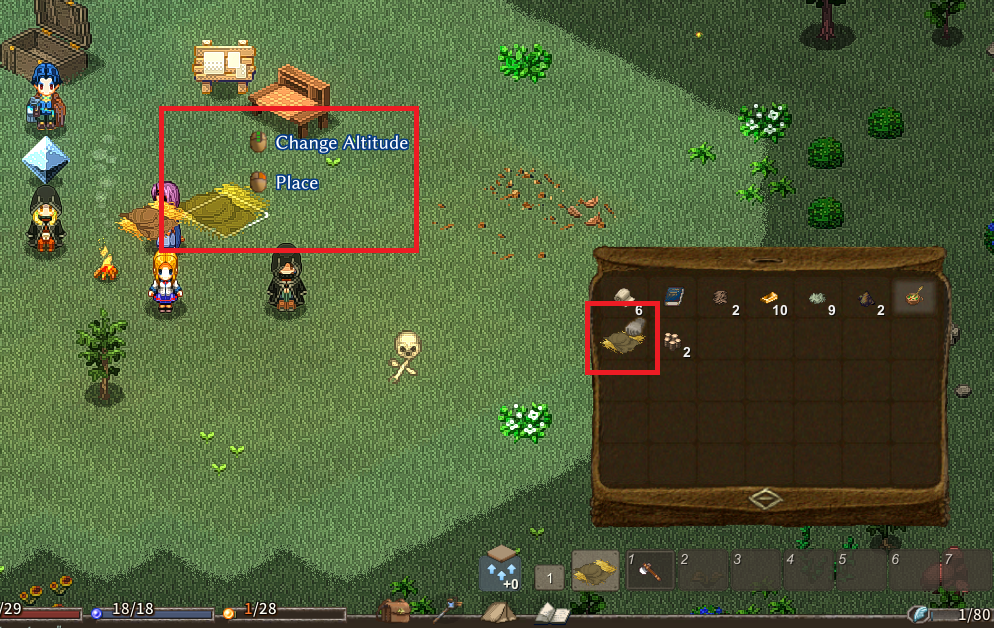
Receive the request “First Shipping Box”.
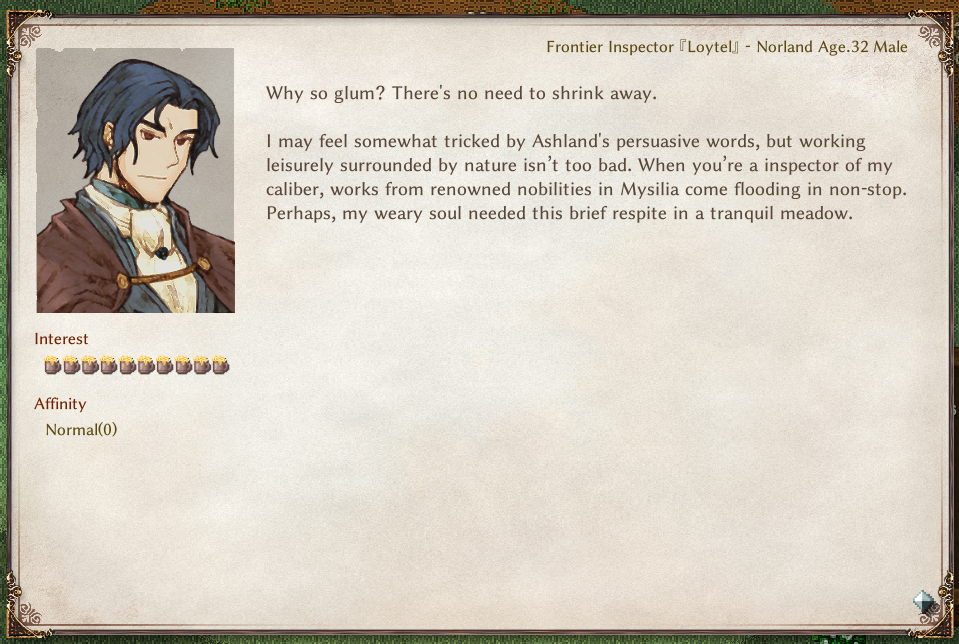

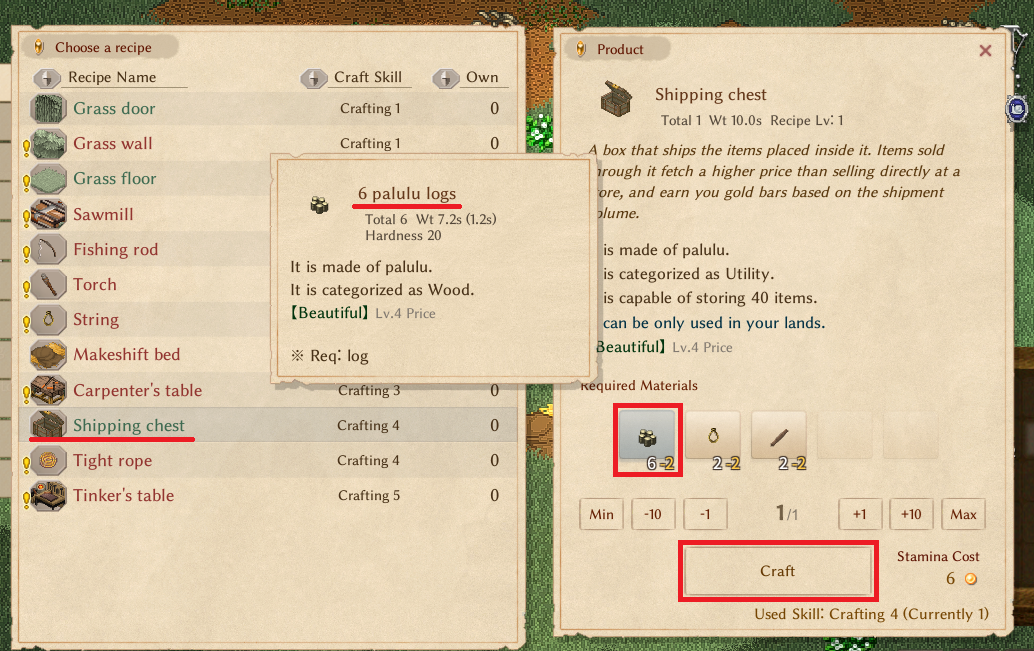
Ensure you use Palulu logs for the shipping box, as using other materials won't complete the task.

Pick up all the materials you need as they are lying around your feet and then go to the workbench.
A shipping box has been added to the list of items that can be produced at the workbench, so produce it. Make sure that the logs are made of Palulu logs. If another material is selected, you can change it by clicking on it.
Once fabricated, place.
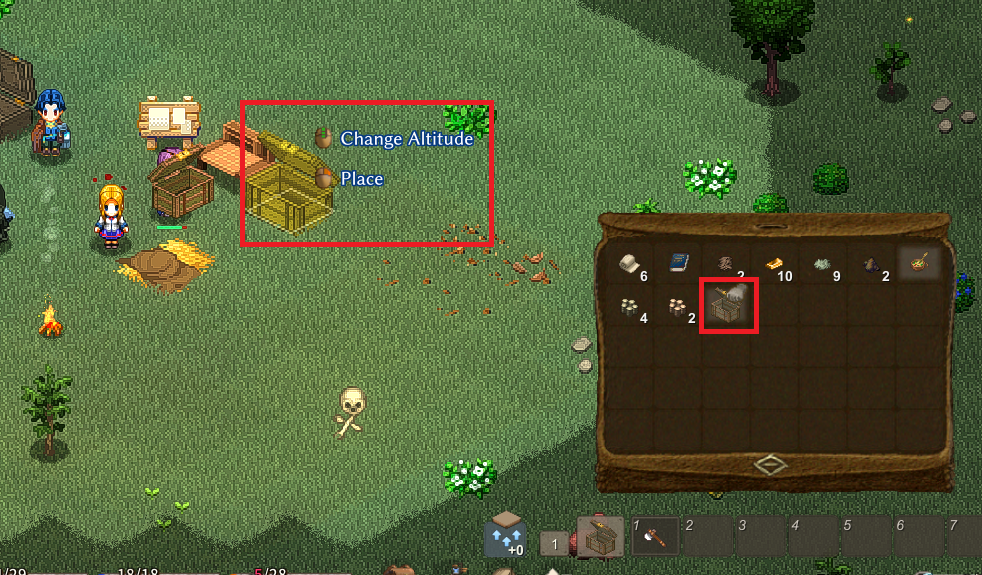
Place the shipping box and then talk to Loytel to clear the task. Items placed in the shipping box are collected every day at 5 AM, and you earn money and gold bars nuggets accordingly.
If you accidentally use Palulu logs for something else, you can find more on the coastal map.
ksk428.hatenadiary.com
6. The Way of Crafter
Learn the basics of crafting and what constitutes a house in this crafting tutorial.
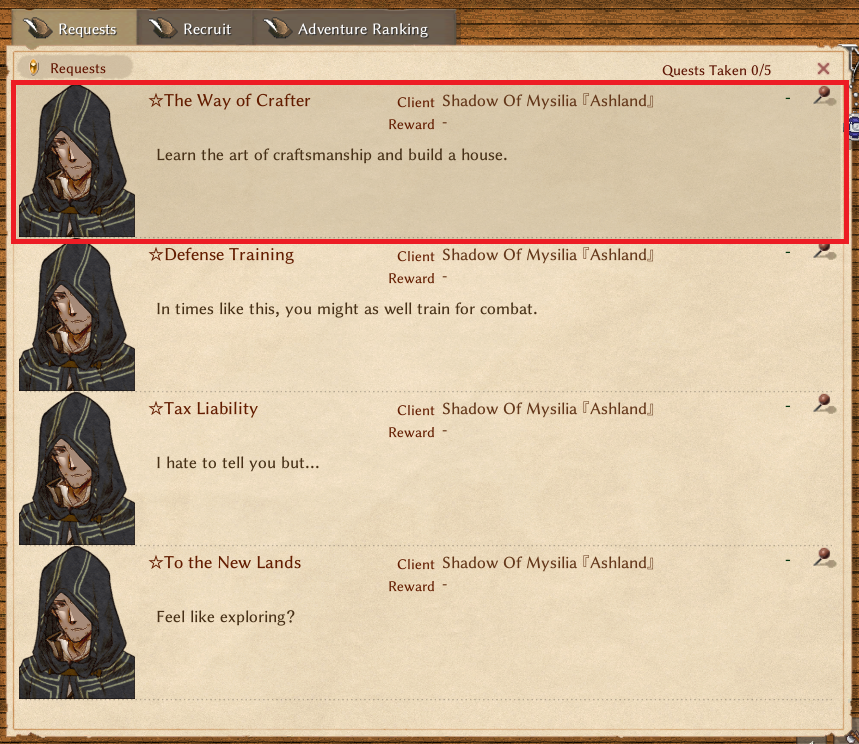

Workbench is already crafted and place.

Remember, many items cannot be used until they are placed.

You may speak with Ashland immediately since the workbench is already in place.

Craft a torch at the workbench.

Make sure to equip it in the light source equipment slot.

To make a torch, you'll need branches, string, and resin.
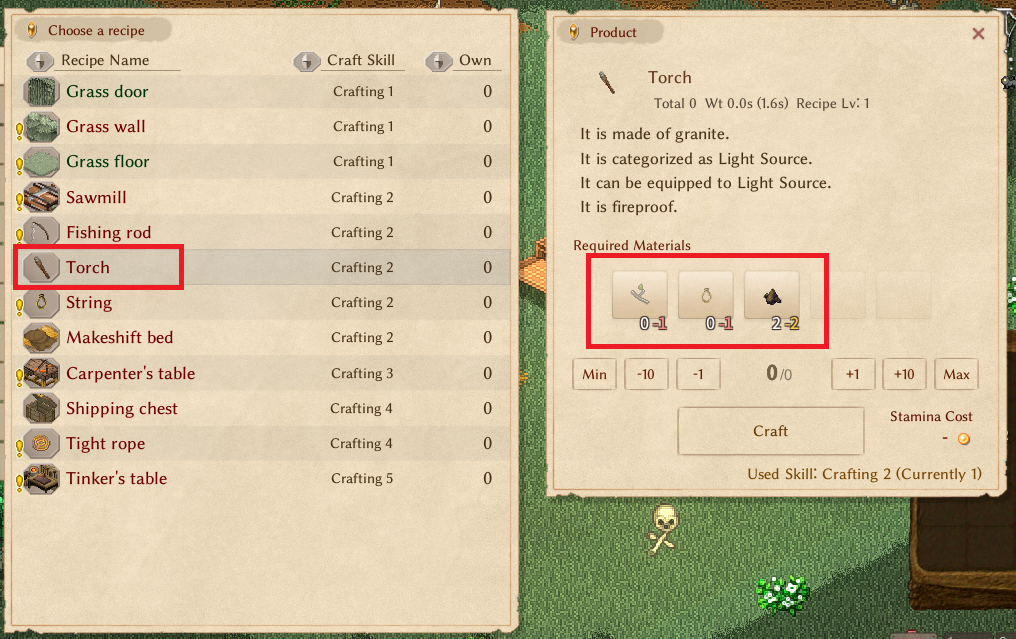
String can be crafted from vines at the workbench.

If you're unsure where to obtain materials, try gathering various things around the base to accumulate knowledge internally.
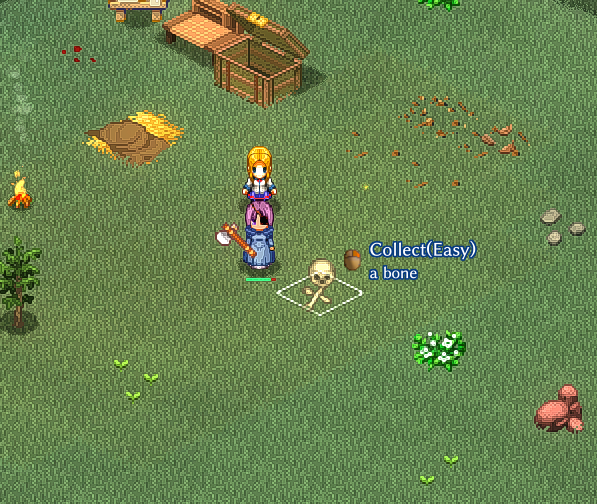
If you open the workbench after collecting it for a while, you will see that you can make strings, and once you make strings, you should be able to make torches.

Equip the torch you've created in the light source equipment slot.
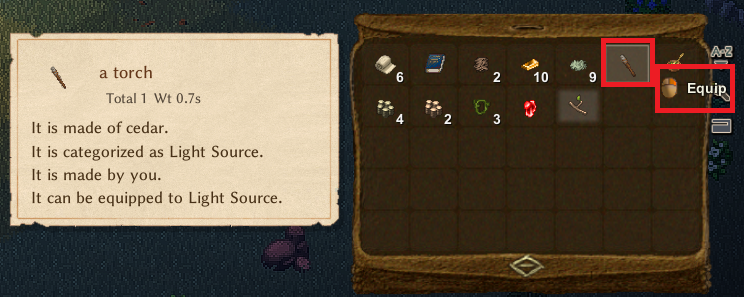
Before (before equipping the torch)
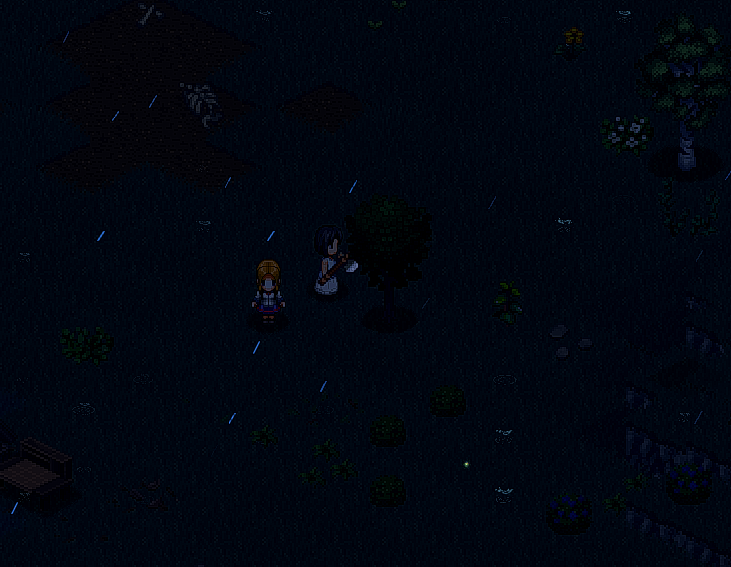
After (after equipping the torch)
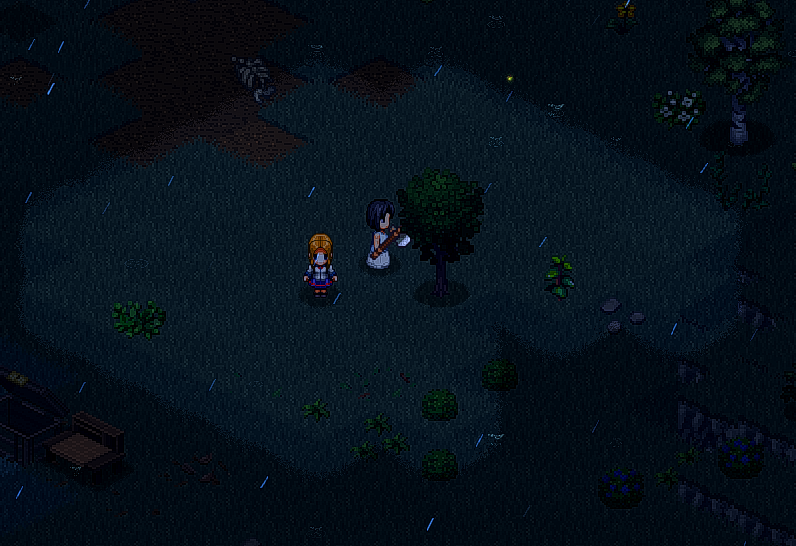
With a better light source, visibility improves, so switch when you find a better one.
Once you've equipped the torch, talk to Ashland.
Next, we'll move on to building a house, which is straightforward: "enclose some space with walls and equip it with doors, you can erobably call it a house".

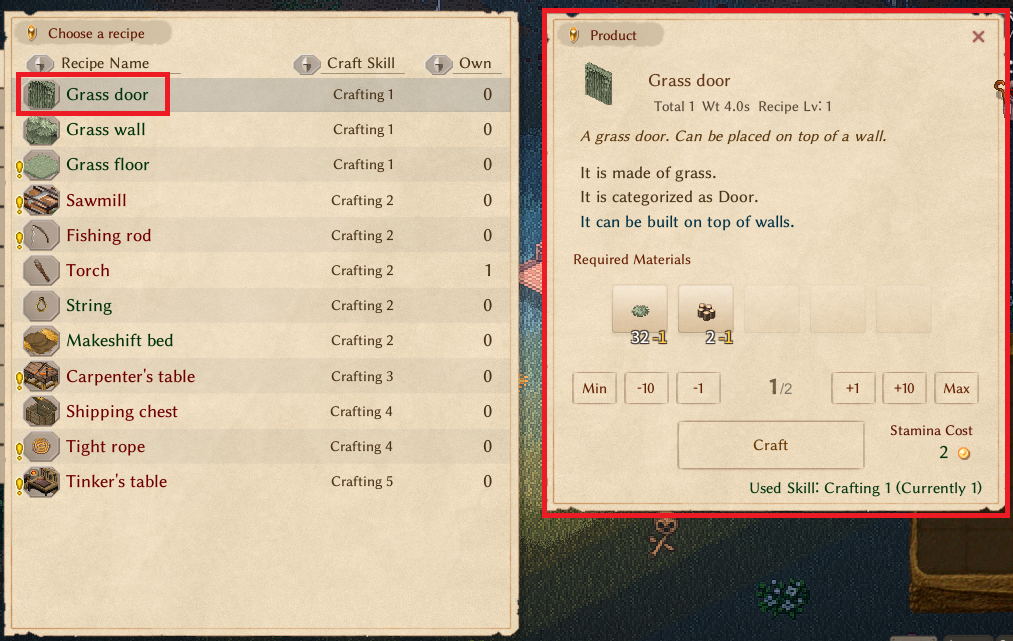
From the workbench, craft "Grass door" x1 and "Grass wall" x10.

First, place the walls in a 2*3 layout. Installation is done by right-clicking to "grab" the item.
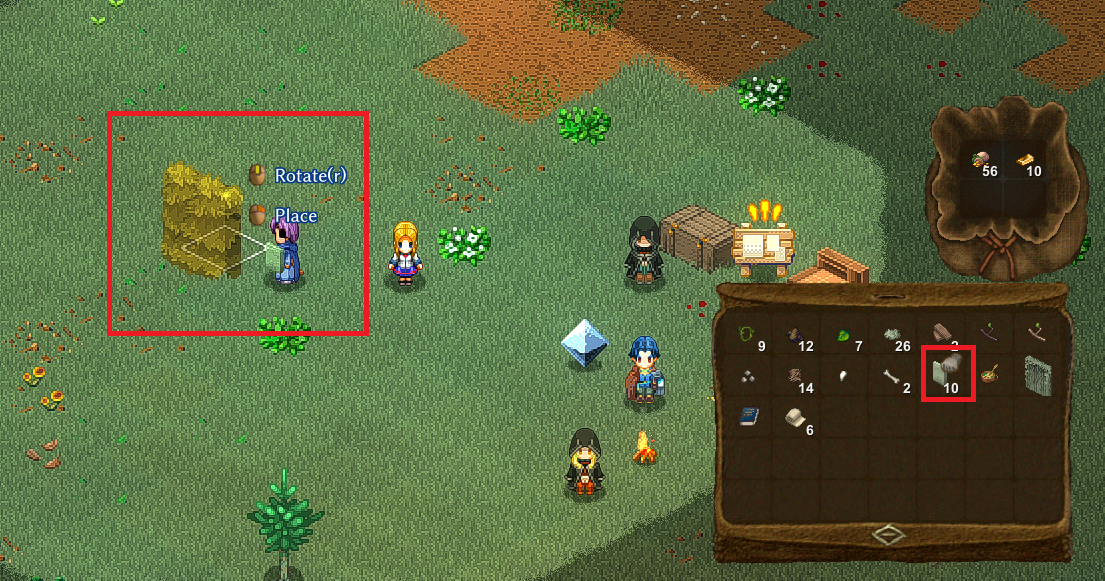
To change the orientation of a wall, use the middle click.

After surrounding the area with walls, place the door. Note that a door cannot be placed without a wall, so there's no need to leave a gap specifically for it.

Once the house is complete, talk to Ashland to finish the task.


Various items will be rewarded. A training dummy, for example, can be used for combat skill training.

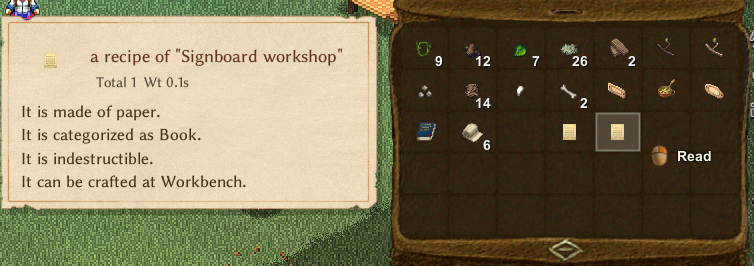
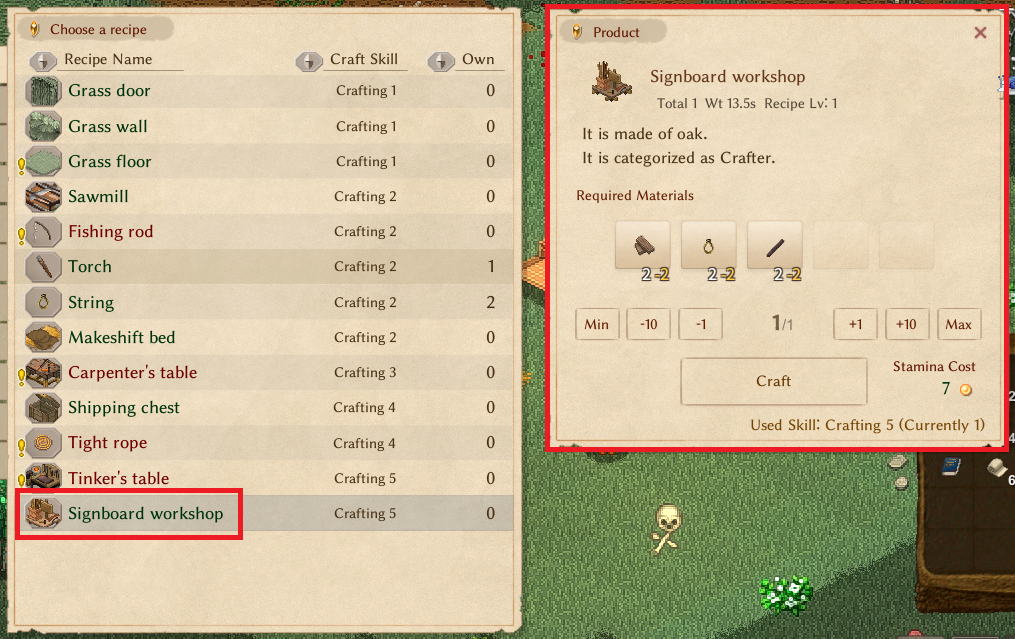
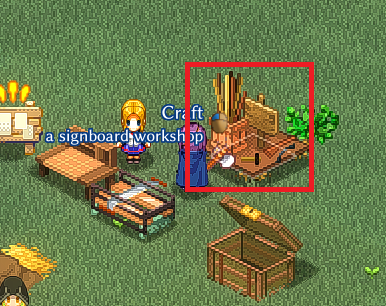
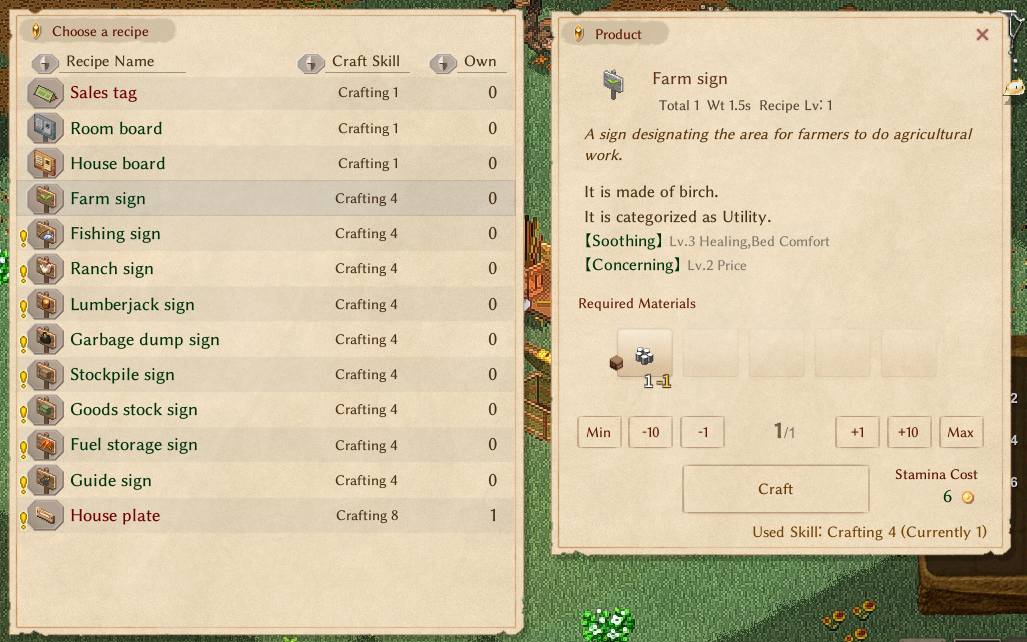
A crucial item is the "Signboard Workshop Recipe," which I won't detail here, but it allows you to create signbord for giving instructions to residents.
7. Buying “home board” and “resident board” from Fiama
Talk to Fiama to select "Let me see your home equipment".

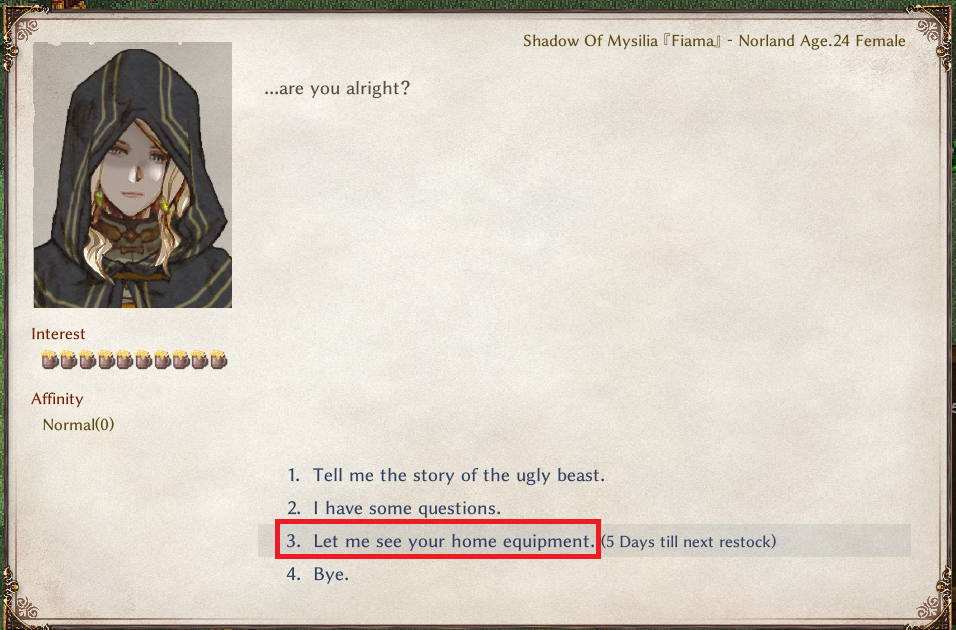
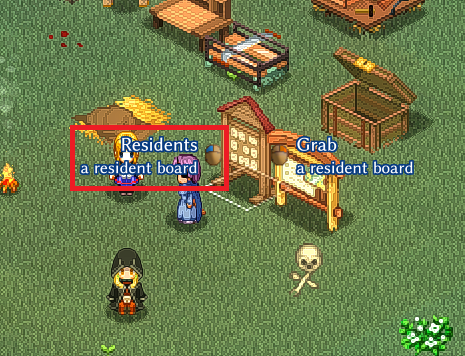
We recommend purchasing the "Home Board" and "Resident Board" using the first 10 gold bars available.

These boards become use once placed.
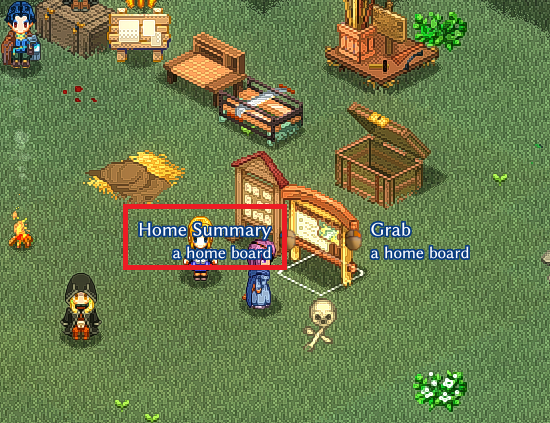
The Home Board allows access to various information, but what you'll want to do here is set the "Policy."

Policies won't activate unless checked, and you can only activate as many as your management "admin points" allows.

Initially, I activate policies like "Growth Suppression", "Strict Anti-Littering Law", "Weed Pulling Campaign" and "Tax Free Land".

■Growth Suppression: As Hearth Stone grows, the enemies that appear at the base will also become stronger, so it is better to suppress it at the beginning, but as the stone grows, there are elements that will be released and "admin points" will increase. The maximum number of residents will increase, so remove it at some point and let it grow.

■Strict Anti-littering Law: Reduce trash at bases
■Weed Pulling Campaign: It is recommended to activate it because it makes it difficult for weeds to grow and it is a hassle to mow each time.
■Tax Free Land: It is enabled from the beginning, so leave it as is.
When should you remove the "Growth Suppression" policy?
→ The only disadvantage of growing Hearth Stone seems to be that the enemies that appear at your base become stronger (more dangerous). If you can set up a "Border Watch" policy that can reduce the danger of your base, I think you can at least aim for level 2 of the Hearth Stone. (Please note that Hearth Stone will not grow unless you remove "Growth Suppression" policy)

You can check information about residents on the resident board.

Other items that I think should be prioritized and purchased from Fiama include "Millstone'' Recipe and "Watch fire'' Recipe.
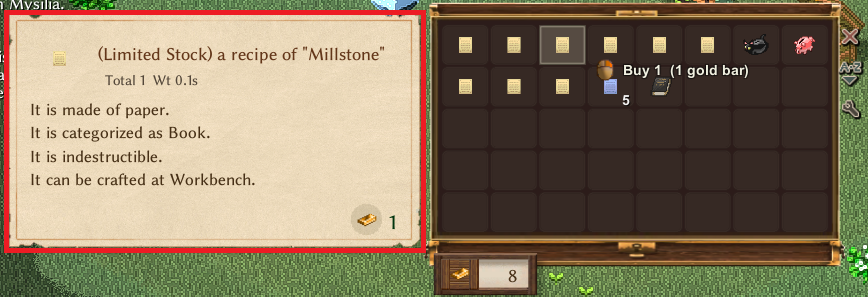

Millstone is a device that can be used to knead various things. crim powder, which is made by processing crim into Millstone, can be used for a variety of purposes and also as a means of making money. Also, it is a good idea to have some preserved food such as "kibble", which is made by kneading meat or fish and tree bark, that will not spoil.

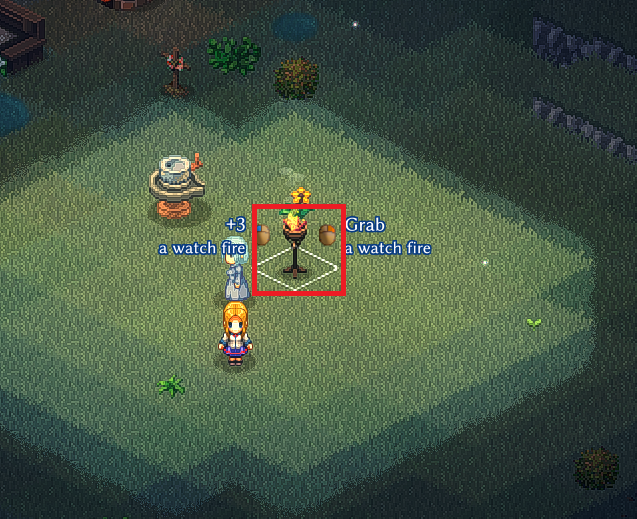
Watch fire is a light that is mainly placed outdoors. If your base is dark, it will be difficult to operate at night, and you may be attacked suddenly, so it is a good idea to keep several at your base. Please note that the fire will go out on rainy days.
8. Defence Training
Combat tutorial.
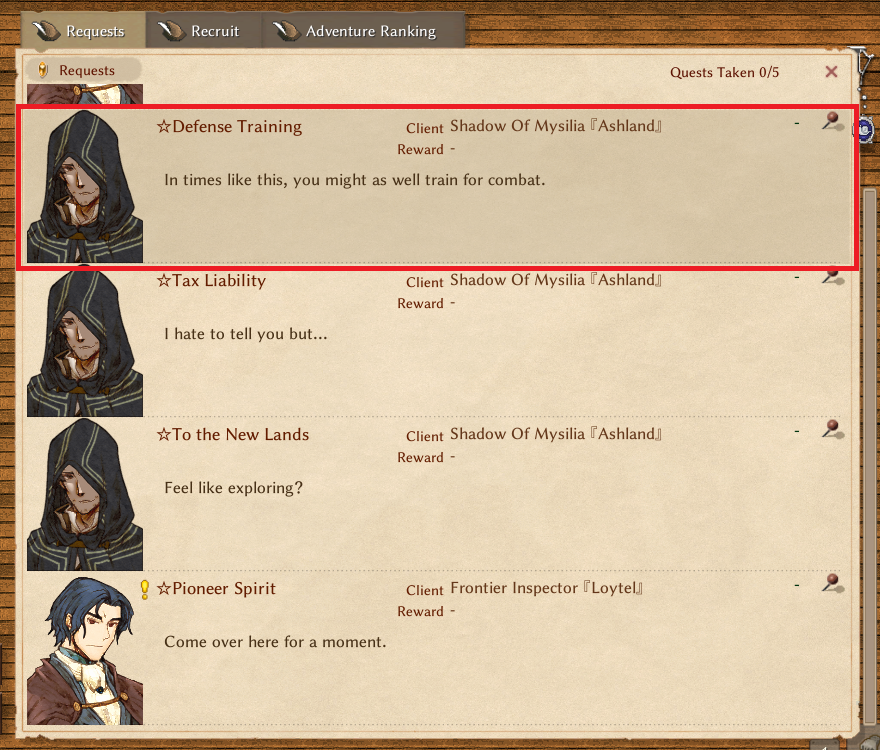
Hover your mouse to see the enemy's strength.
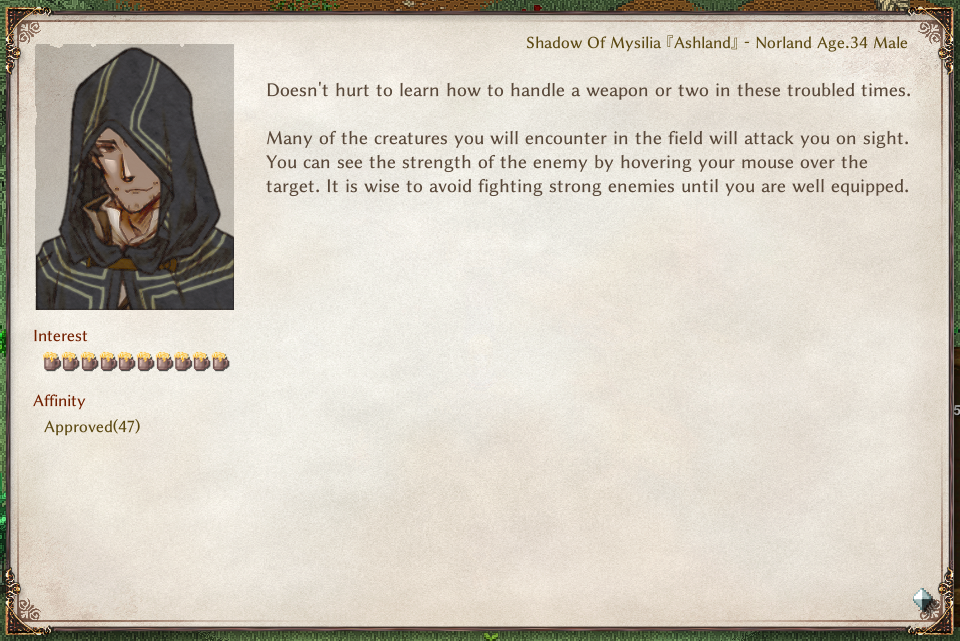
About this.

The enemies cannot move, but they will attack you, so be careful.

If you fight Punk with your pet, you can easily win.
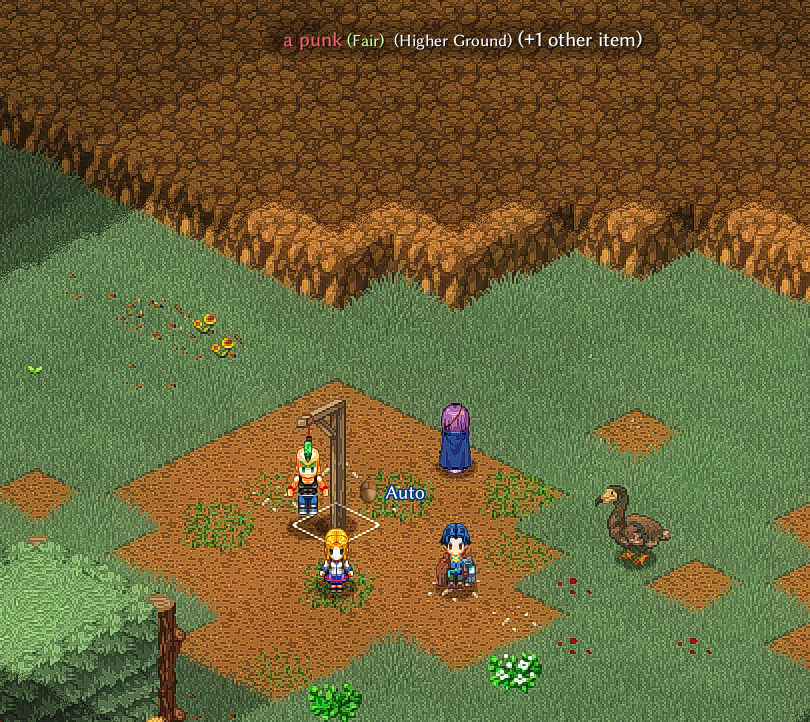
After defeating Punk, talk to Ashland.

Next, a boar is hung. If you try to defeat it by punching it like before, you may get hit back, so follow our advice and learn to defeat it from a distance.
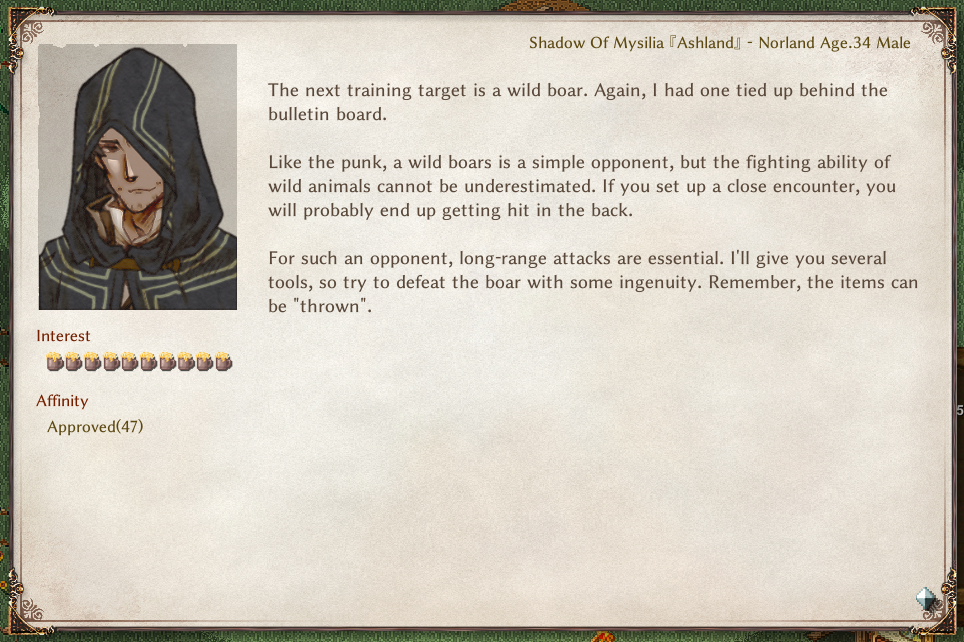
Pick up all the potions and pebbles that will fall.
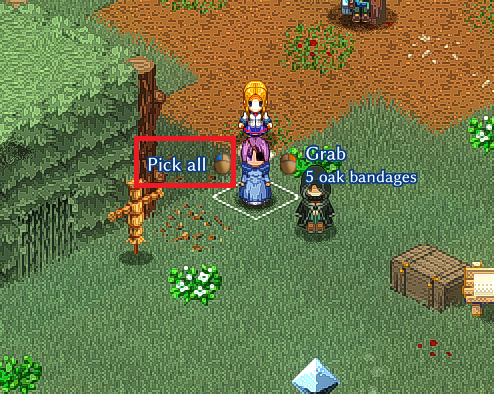
To throw it at an enemy, right-click to "grab" it, then point the mouse cursor at your opponent.
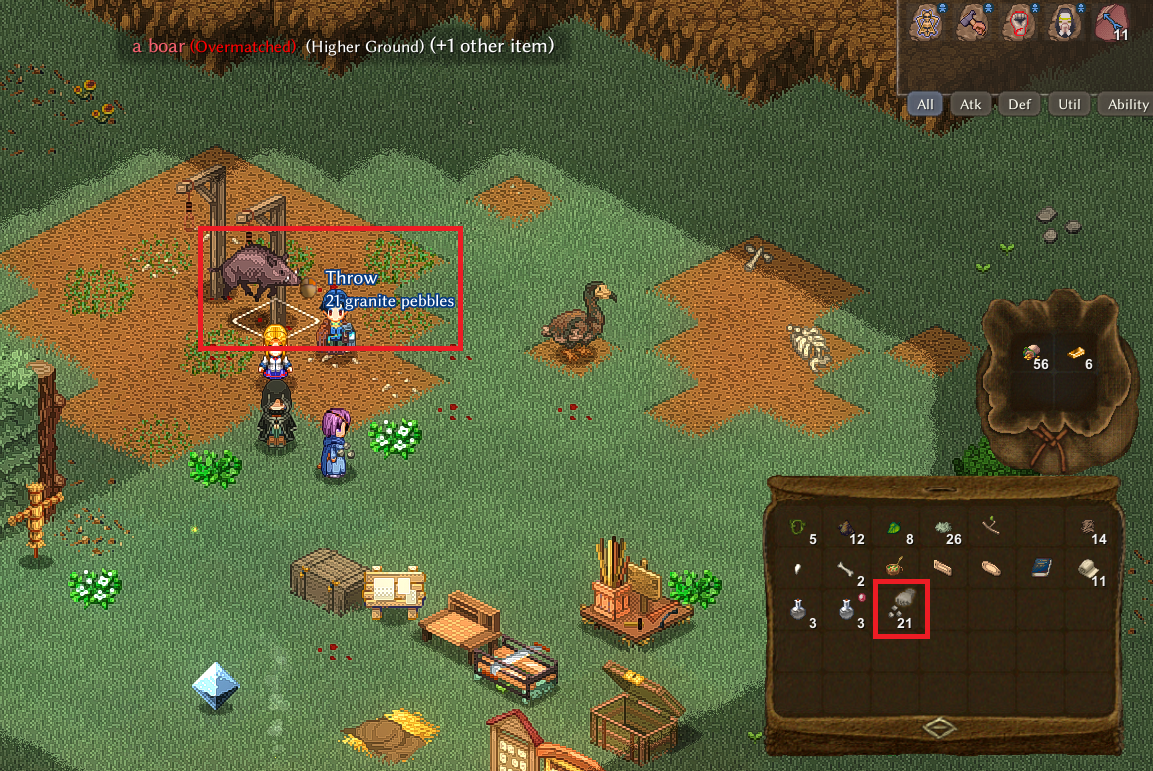
Please note that right-clicking on potions is set to "drink". You can also throw it in the same way by middle-clicking and selecting "grab" and then placing the mouse cursor on the opponent.
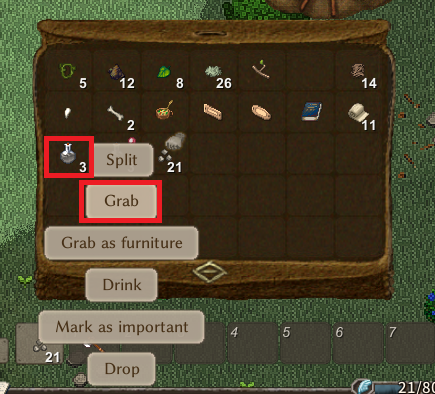
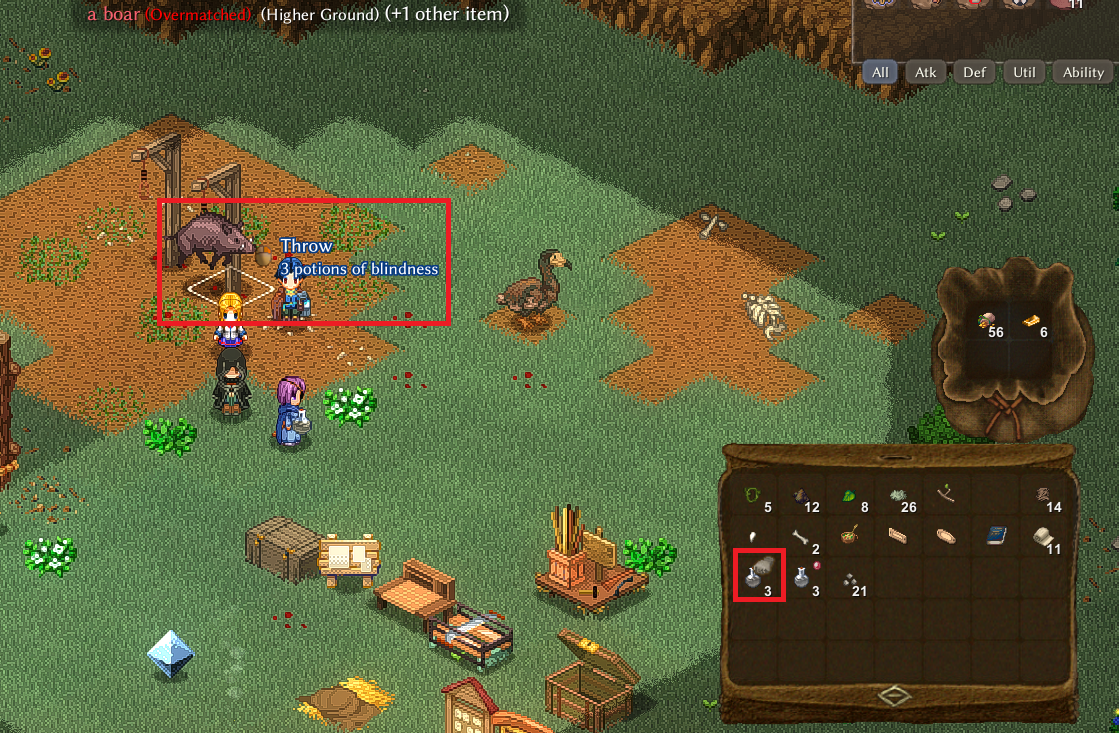
Pebble throwing is reliable, especially in the early stages, until you have proper equipment, so it's a good idea to learn how to do it.
If you defeat the boar, report it to Ashland.

At the end, you will be asked to defeat 100 enemies.

You can check your progress on the quest tracker.

You can clear the quest eventually, so don't rush to complete it and move on to the next quest for now.
(After defeating 100 bodies)
Talk to Ashland.


You can get 10 platinum coins, so learn the necessary skills from skill trainers in each region.

Skill trainers are people like this in the city.


You can use platinum coins to acquire skills and enhance the potential (ease of skill growth) of acquired skills. The skills that can be learned differ depending on the city, so it's a good idea to check when you go to a new city.

Also, keep in mind that from now on, you will mainly be able to obtain platinum coins by completing requests on quest board in each town.


By the way, it's convenient to keep platinum coins and gold bar in your wallet so they don't take up space in your backpack.

9. Tax Liability


I'll leave it alone until I get the bill.
See below for what to do after receiving your bill.
ksk428.hatenadiary.com
10. To the New Lands
I think it will be a while before I can proceed with this request, but I will accept it in order to generate the next "Fiama's Feeling".


You can get scrolls, so feel free to use them.

This is the place you are asked to investigate.

There are some elements that can be unlocked by progressing through the main quest, so it's a good idea to try it at a certain timing and not leave it alone.
11. Fiama's Feeling
A request that appears after accepting the request "To the New Lands".

Recipes available.


You can obtain "Stonecutter" recipe, "Mason's Table" recipe, and "Drafting table" recipe. It's an important recipe, so you'll want to get it as soon as possible.

These recipes are the key to advancing your craft.
Also, the weapons and armor that can be made at the mason's desk are reliable in the early stages.


12. Fiama's Lecture
A request that appears after accepting the request " Fiama's Feeling".


You'll be given a locked treasure chest and tools to open it, but you probably won't be able to open it immediately, so just speak with Fiama for now.

No need to rush; just keep it until you can open it.

13. Lost Puppy
A request to go to the dungeon to find a puppy.


Here is the destination.

I think it will be difficult even if I go there right away. Let's go after getting a little stronger.
14. Pioneer Spirit
Preparation for farming. You'll need to craft some equipment and process materials to obtain the items required for this quest.


The goal is to craft a hoe and a shovel.

These can be crafted at the "Tinker's Table".

See below for how to craft a "Tinker's Table".
At the "Tinker's Desk", you can craft useful tools other than "hoe" and "shovel".

Pickaxe : You will be able to dig through walls.


The walls that can be dug are determined by "hardness" and "mining skill".


Hammer : Items can be disassembled

Hammer allows you to "disassemble" various items, turning them into their component materials or further downgraded materials until they can't be broken down further or they disappear. Experimenting with disassemble can lead to unexpected finds.


Sickle : Seeds are available from plants and crops.

Once you have the seeds, you can grow them in the field. If you find a crop you want to grow, you can try reap it with a sickle.


After making the shovel and hoe, report back to Loytel.


Let's know about "fertility".

Fertility can be checked on the home board.


Each crop consumes different levels of fertility.

The rewards for quest are "seeds of tomato ", "seeds of pasture", and "seeds of mushroom".

If you want to start cultivating in earnest, you'll also want to prepare a sickle and a watering can.

( How to grow crops )
Dig with a shovel to expose the ground.

Plow the ground with a hoe.

Plant seed in the plowed field.

Crops grow every day at 6am. If you have a watering can, you can water it, but there is no problem even if you don't water it, although the growth will be slower.

15. Vision for the Future
A request that will be posted one week after the game starts.

You can receive items depending on your selection.

Recommended is 1 or 3 where you can get equipment.

16. Tutorial Complete
With the tutorial completed, you should have a good grasp of the basics. Now, you can freely explore and develop your base as you see fit.
Welcome to Ylva!
※See below for useful functions and operations.
ksk428.hatenadiary.com
※See below for early game money making.
ksk428.hatenadiary.com
The content of this article was translated using GPT and DeepL and Google translation from the following article.
ksk428.hatenadiary.com